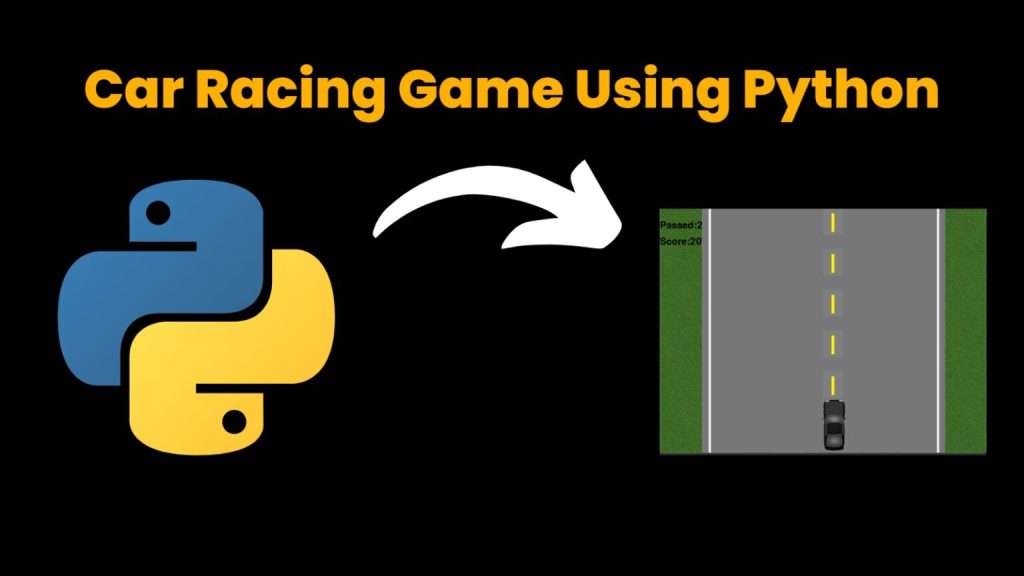
Car racing games have always been popular among gamers. The thrill of racing against other players or the computer, the excitement of the speed, and the adrenaline rush make it an enjoyable experience. In this article, we will explore how to create a car racing game using Python.
Python is a high-level programming language that is easy to learn and has a vast library of modules that can be used to create complex applications. The game we will be creating is a simple 2D car racing game that will use the Pygame library to handle graphics, input events, and audio. \
Before we begin, we need to install Pygame. We can install Pygame using pip, a package manager for Python. Open the command prompt and enter the following command:
pip install pygameOnce we have installed Pygame, we can start creating our game.
Step 1: Set up the game window
First, we need to create a game window using Pygame. We can use the Pygame.display.set_mode() method to create a window of a specified size. Here is the code to create a window of size 800×600 pixels:
import pygame

pygame.init()
screen = pygame.display.set_mode((800, 600))
pygame.display.set_caption("Car Racing Game")
We have created a window of size 800×600 pixels and set the title of the window to “Car Racing Game”.
Step 2: Load the images
We need to load the images for the cars and the background. We can use the Pygame.image.load() method to load the images. Here is the code to load the car and background images:
car_image = pygame.image.load("car.png")
background_image = pygame.image.load("background.png")
Step 3: Set up the game loop
The game loop is responsible for updating the game state, handling input events, and rendering the graphics. We can use the Pygame.time.Clock() method to set the frame rate of the game. Here is the code to set up the game loop:
clock = pygame.time.Clock()

while True:
    # Handle events
    for event in pygame.event.get():
        if event.type == pygame.QUIT:
            pygame.quit()
            sys.exit()

    # Update game state

    # Render graphics
    screen.blit(background_image, (0, 0))
    screen.blit(car_image, (400, 500))

    pygame.display.update()

    # Limit the frame rate
    clock.tick(60)
In the game loop, we handle the quit event and update the game state. We then render the graphics by blitting the background and car images to the screen. Finally, we use the Pygame.display.update() method to update the display, and we limit the frame rate to 60 frames per second.
Step 4: Handle input events
We need to handle input events such as keyboard input to control the car. We can use the Pygame.key.get_pressed() method to get the state of the keyboard keys. Here is the code to handle keyboard input:
keys = pygame.key.get_pressed()

if keys[pygame.K_LEFT]:
    # Move the car left
if keys[pygame.K_RIGHT]:
    # Move the car right
if keys[pygame.K_UP]:
    # Move the car up
if keys[pygame.K_DOWN]:
    # Move the car down
We get the state of the keyboard keys using the Pygame.key.get_pressed() method. We then check if the left arrow key, right arrow key, up arrow key, or down arrow key is pressed. If a key is pressed, we move the car accordingly.
Step 5: Add collision detection
We need to add collision detection to detect when the car collides with other objects in the game. We can use the Pygame.Rect() method to create a rectangular bounding box around the car and other objects, and then check if the bounding boxes overlap. Here is the code to add collision detection:
car_rect = car_image.get_rect()
other_rect = pygame.Rect(x, y, width, height)

if car_rect.colliderect(other_rect):
    # Handle collision
We create a rectangular bounding box around the car image using the car_image.get_rect() method. We then create a rectangular bounding box around other objects in the game using the Pygame.Rect() method. We use the Pygame.Rect.colliderect() method to check if the two bounding boxes overlap. If the bounding boxes overlap, we handle the collision accordingly.
Step 6: Add game elements
Finally, we need to add game elements such as obstacles and power-ups to make the game more challenging and interesting. We can use the Pygame.draw.rect() method to draw rectangles representing obstacles and power-ups. Here is the code to add obstacles and power-ups:
obstacle_rect = pygame.draw.rect(screen, (255, 0, 0), (x, y, width, height))
powerup_rect = pygame.draw.rect(screen, (0, 255, 0), (x, y, width, height))
We use the Pygame.draw.rect() method to draw a red rectangle representing an obstacle and a green rectangle representing a power-up. We specify the position and size of the rectangle using the (x, y, width, height) parameters.
Conclusion
In this article, we have explored how to create a car racing game using Python and Pygame. We have covered the following steps:
- Set up the game window
- Load the images
- Set up the game loop
- Handle input events
- Add collision detection
- Add game elements
By following these steps, you can create a simple but enjoyable car racing game. You can also extend the game by adding more features such as multiple levels, different cars, and more obstacles and power-ups. Have fun creating your own car racing game using Python!
It’s important to note that while this code provides a basic structure for a car racing game, it’s not a complete game and there’s a lot of room for customization and improvement.
For example, you could add more obstacles, different types of power-ups, different levels with increasing difficulty, or even multiple cars that the player can switch between.
Additionally, the game currently doesn’t have any user interface or menu screens, so it might be helpful to add those in order to give the player more information about the game and allow them to customize their settings.
